

This is a guest post from Maximilian Maier
Almost two years ago, Veeam released the first integration of Proxmox VE for Veeam Backup & Replication. Since then, many features have been added, but customers have still been missing Instant Recovery and Replication. The good news is that these two features are currently planned for the next release 13.1.
In this post I will give a quick overview of how to replicate Proxmox VMs, while Instant Recovery will be covered in Part 5.
Disclaimer: All information and screenshots in this blog post are based on the beta release of v13.1! Changes may occur before the final release.
Overview Replication
Replication creates independent copies of virtual machines at a target destination. Unlike a backup, a replicated VM does not need to be restored, as it only needs to be powered on. This enables much lower RTOs during disasters, but is also useful for migration or failover scenarios to new locations. After the first full copy, only changes are transferred, which enables faster incremental runs and reduces storage consumption at the target. The replication target is typically separated from the source environment, with different hardware, storage and/or in different data centers or sites.
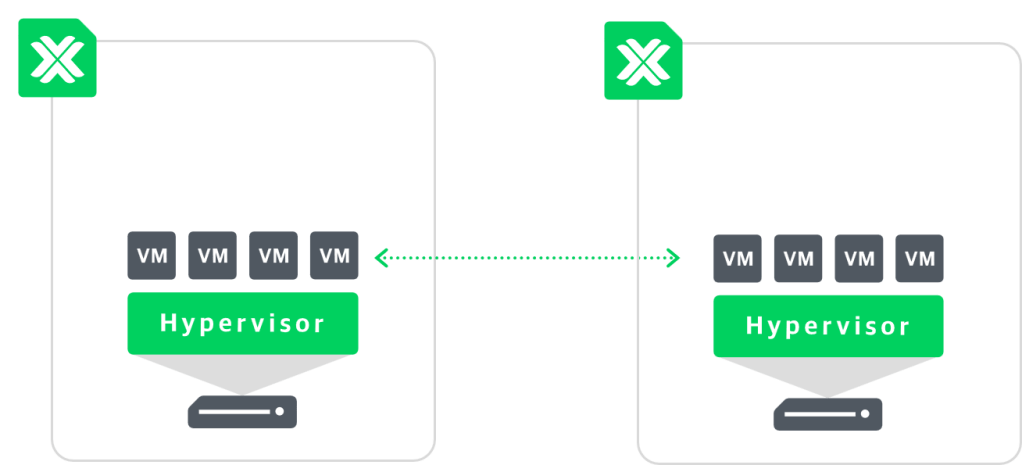
Starting a replica VM, known as failover, should be done from within Veeam. The reason for this is to ensure that Veeam and any replication jobs are aware of the failover process, and to provide advanced options such as:
- Undo Failover: Reverts the replica back to its original state; used for testing
- Failback: Replicates data back to the production or original location
However, if the Veeam Backup & Replication server is not available during a disaster, a replica can also be started directly from within Proxmox.
Setting up Replication
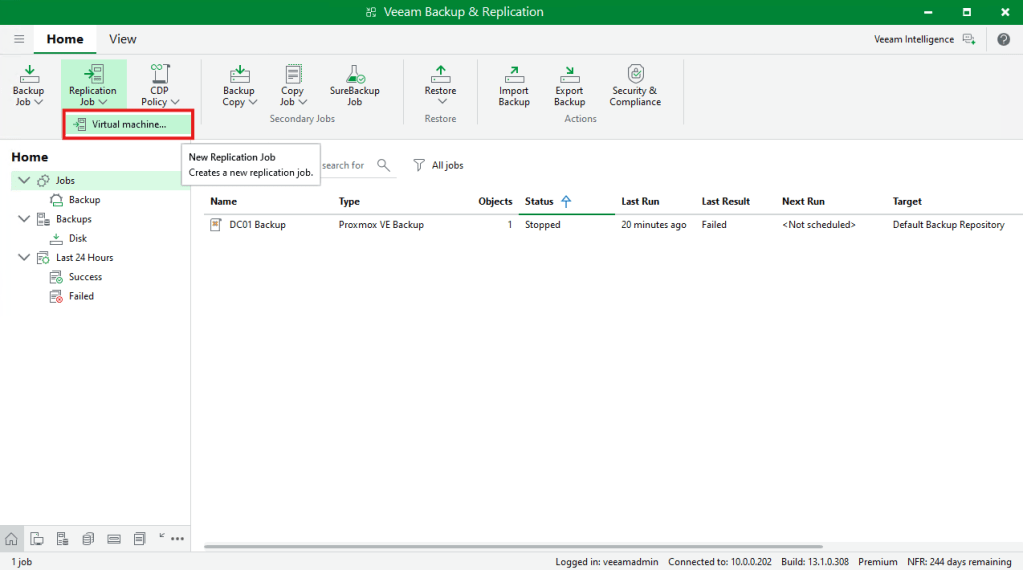
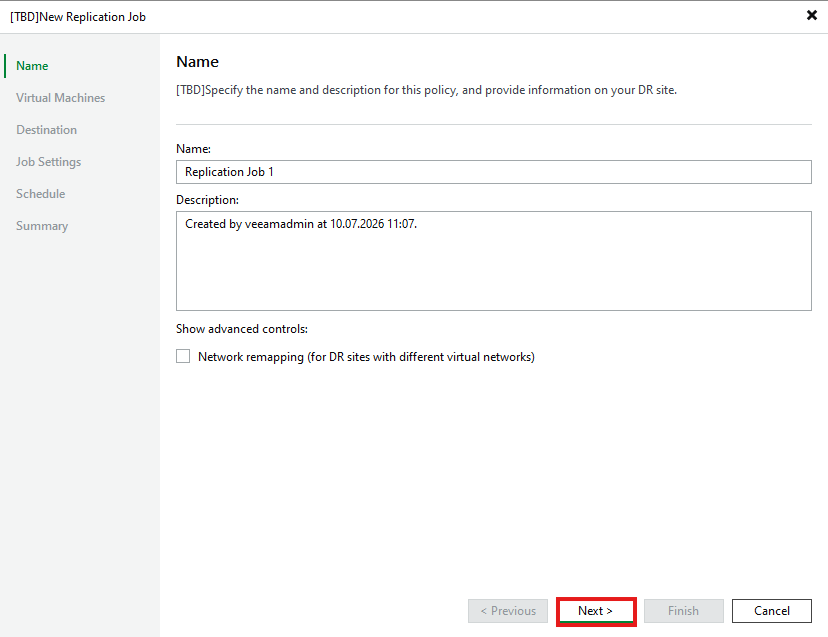
Similar to a backup job, you start by creating a new replication job, assigning a name and selecting the virtual machines that need to be replicated.
If you have different networks at the target site, you can configure network mapping. Since that’s not the case in my lab, I didn’t select this option.
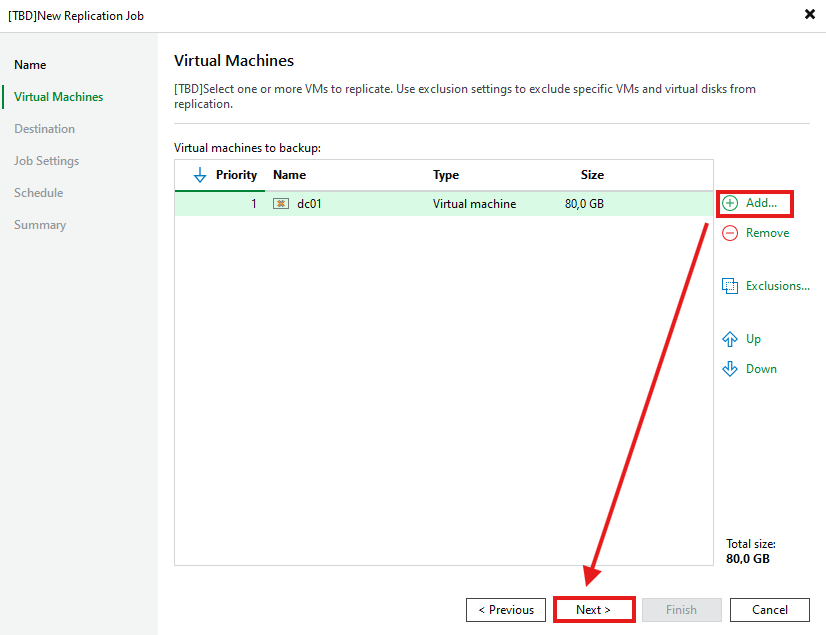
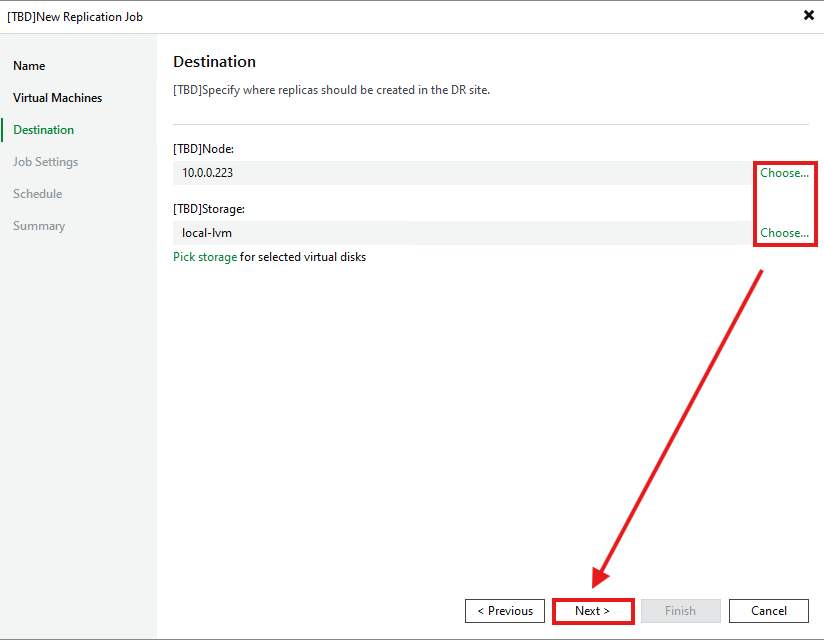
In the destination step, the target Proxmox host and storage are defined.
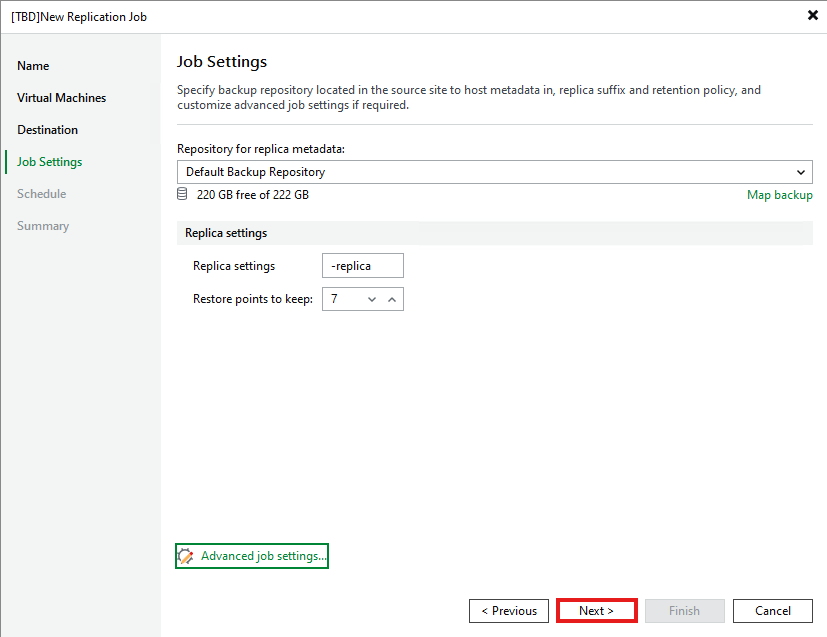
Since we’re replicating virtual machines directly to a target host, only metadata is stored in the backup repository. In addition, you define the replica name suffix and set the retention policy.
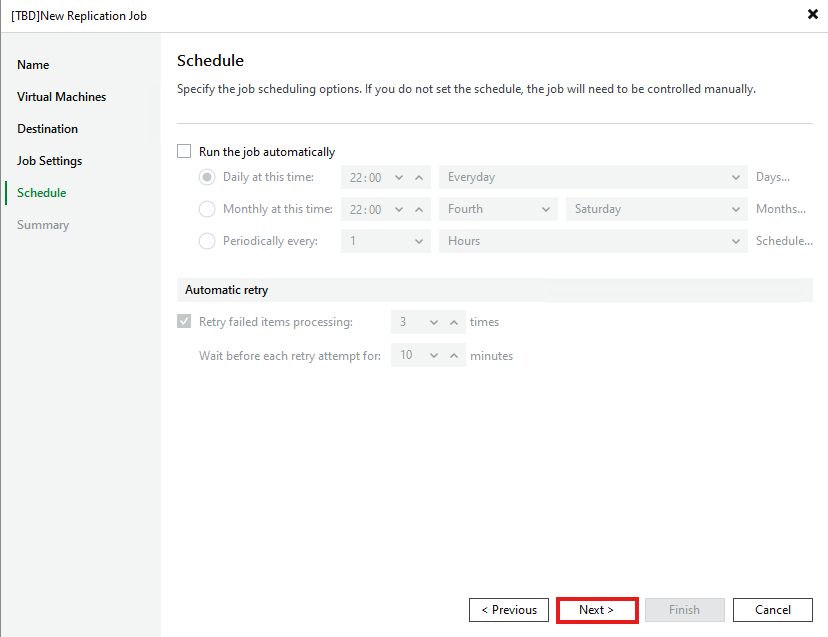
Configure the schedule of your job and afterwards the job is ready to run.
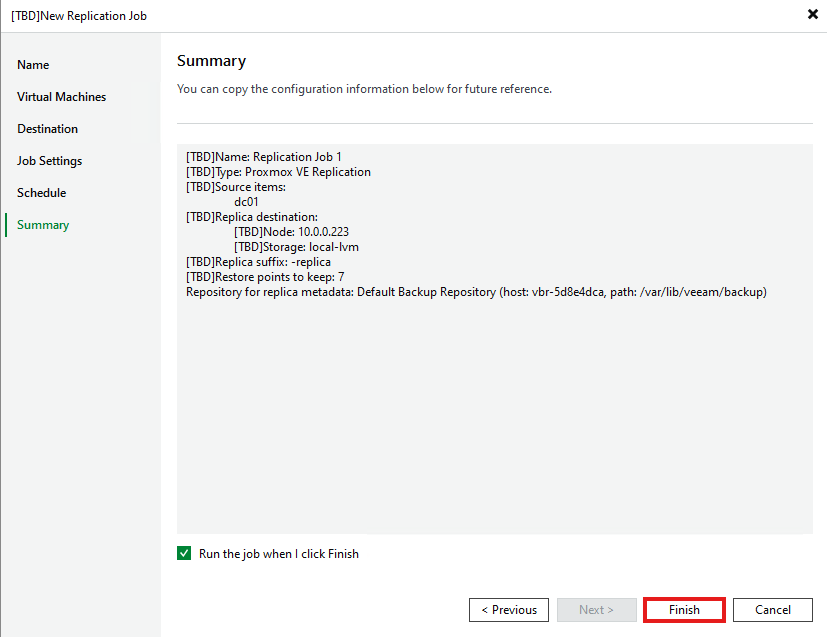
The first job run creates a full replication, while subsequent runs will only be incrementals. During replication, two backup proxies or workers are used, one at the source and one at the target. In environments with different sites or low-bandwidth links, you should make sure that the correct workers are available and used to achieve optimal data transfer.
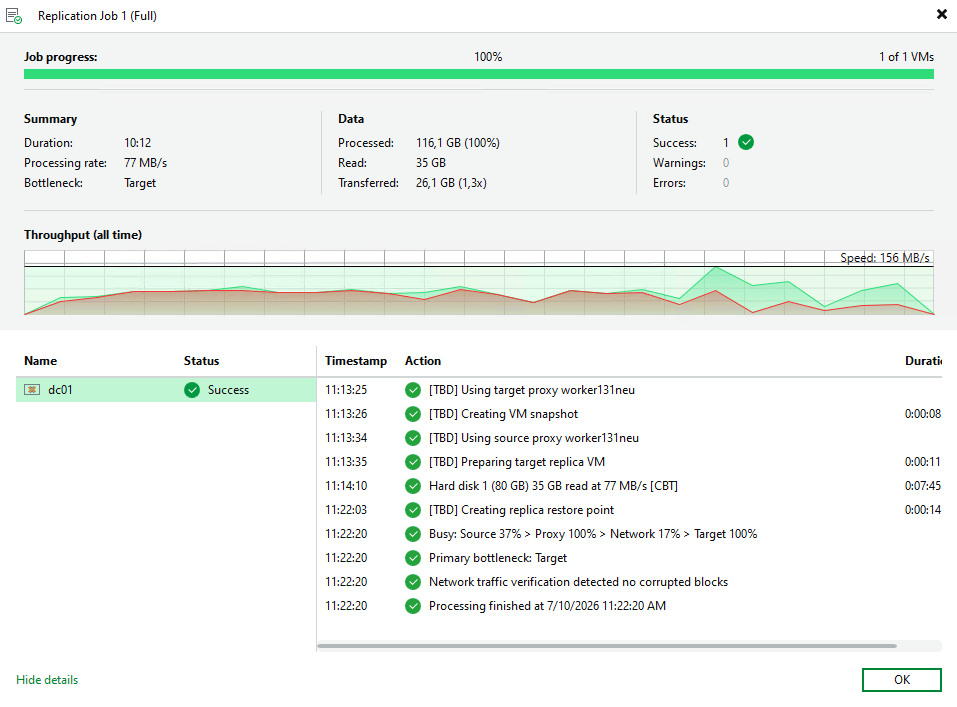
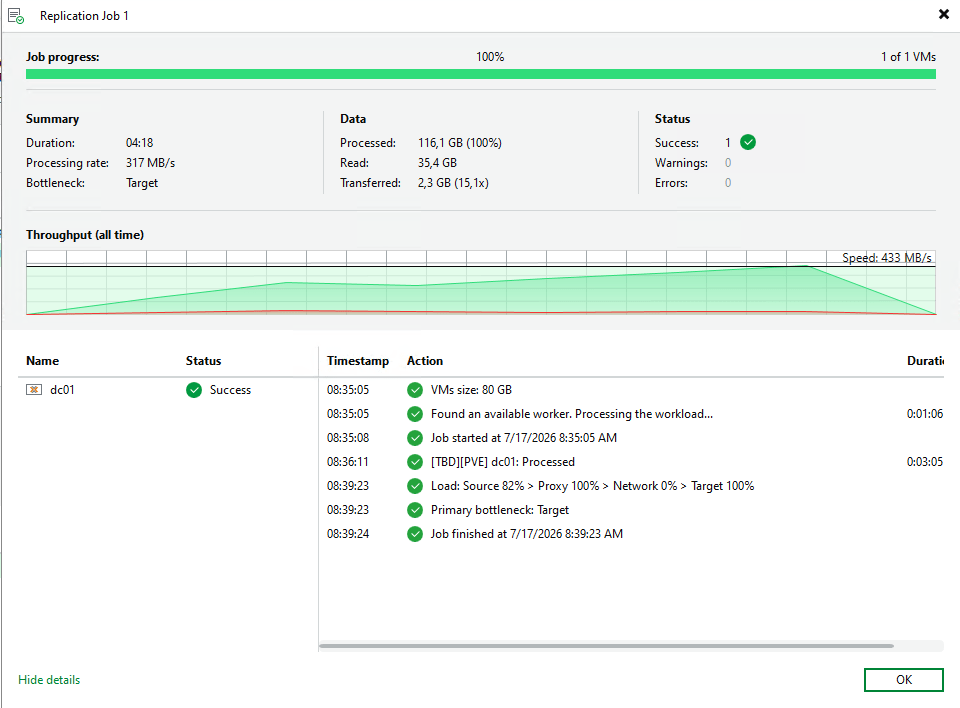
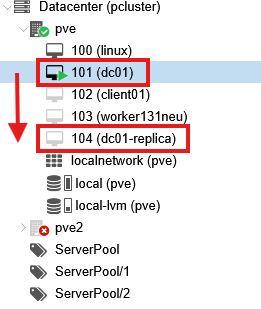
For simplicity, I replicated to the same host in my lab. As you can see, the replication job created a copy of my virtual domain controller, which I can now start like any other virtual machine. However, as mentioned, it’s recommended to initiate the failover from within Veeam.
Failover process
After the first replication, a new ‘Replicas’ tab will be available in the Veeam Console. From there, you can start the failover process via ‘Failover now’, select the restore point and wait until the replica is started.
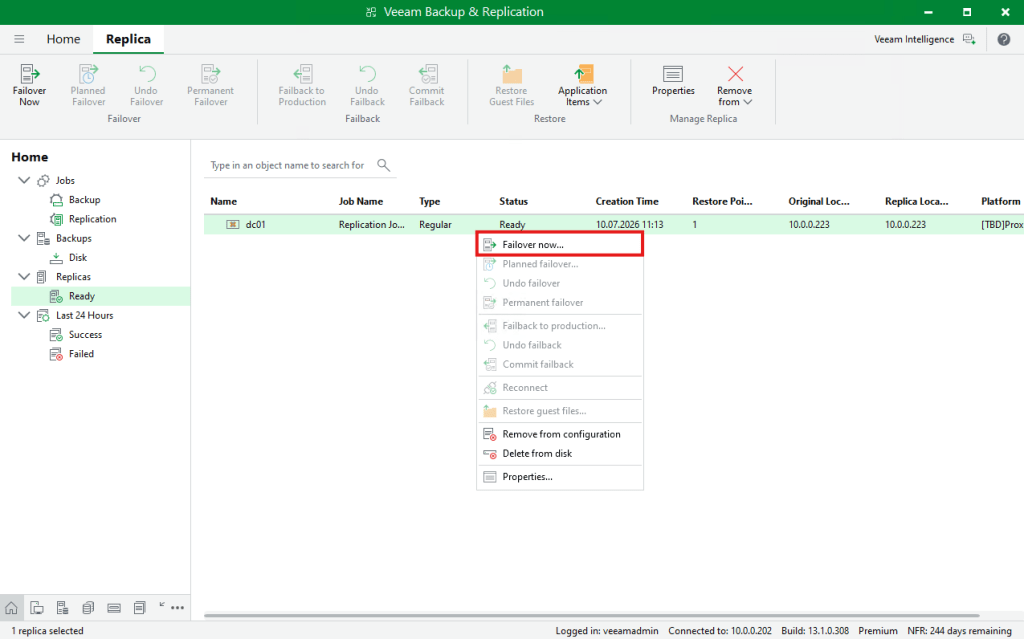
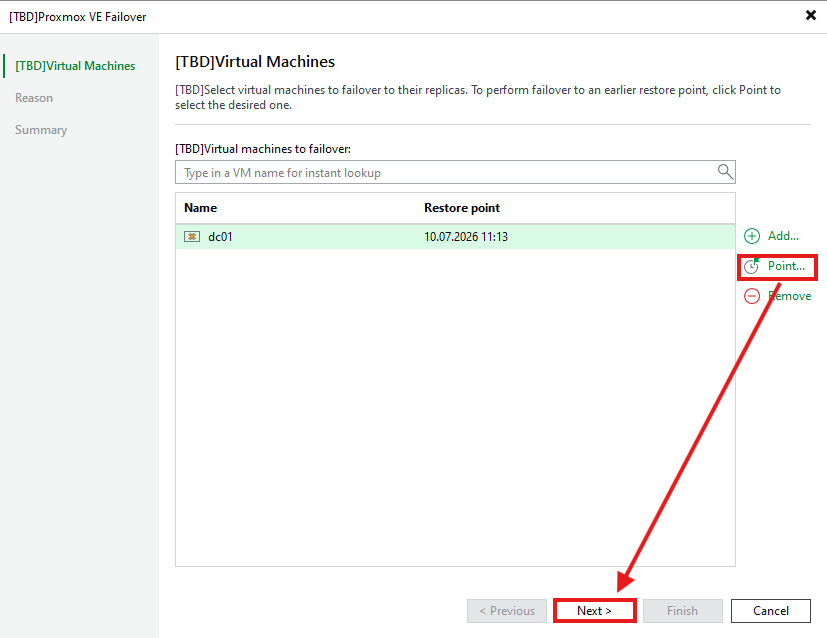
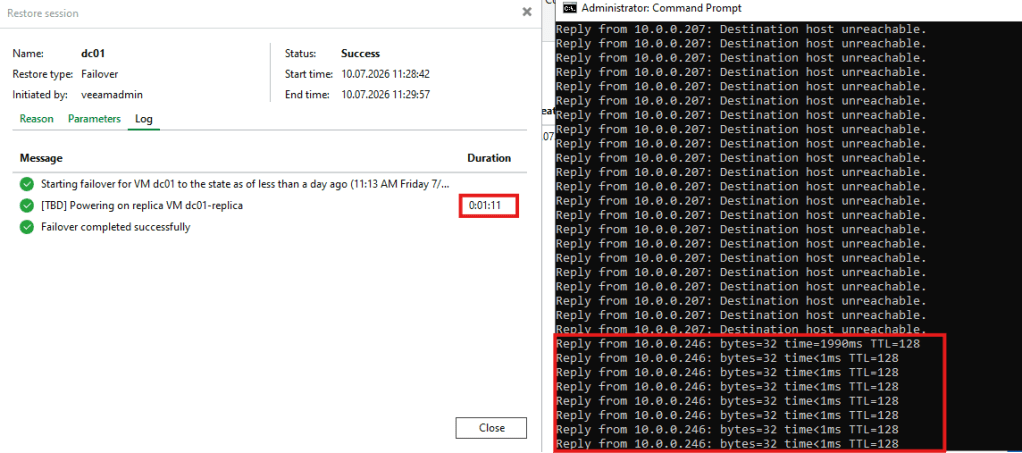
I stopped my domain controller to simulate a disaster. It took about 1 minute from starting the failover process until the domain controller was available again.
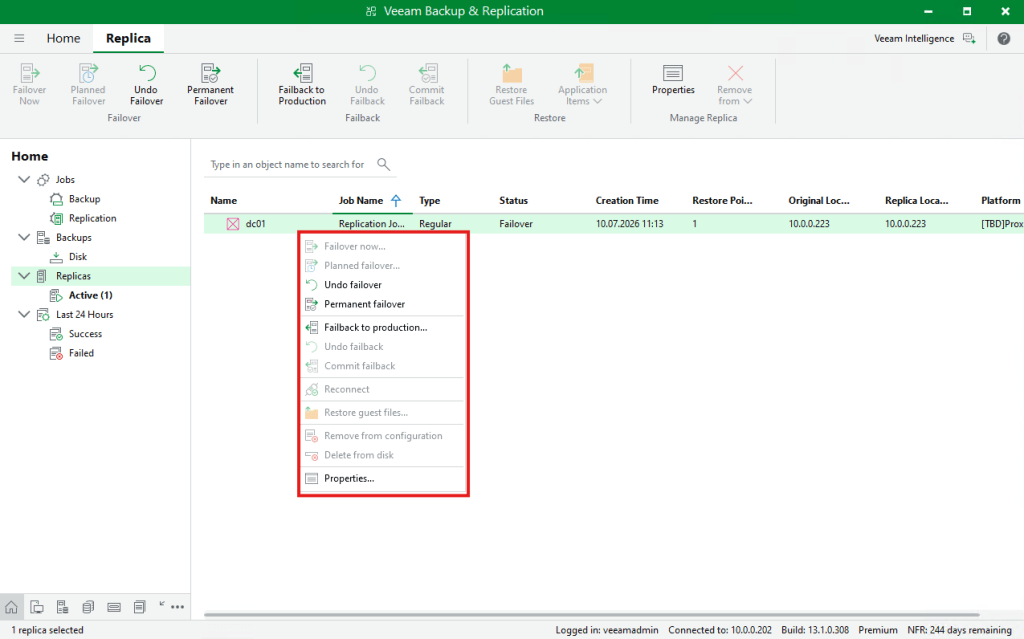
In a real disaster, and in case the production environment is lost, the failover process could now be completed via ‘Permanent failover’. This cleans up the replica within Veeam, excludes it from a replication job and stops the active failover task. This is an important step and must be performed manually if you started the replica directly from the Proxmox management. If Veeam isn’t aware that the replica is now productive, a succeeding replication run could overwrite any changes, or an administrator could accidentally delete the running replica from within the Veeam Console.
Using ‘Failback to production’, all changes are replicated back to the source environment, which is useful during a temporary outage to return to production.
And ‘Undo Failover’ reverts any changes made to the replica. This will be the way to go during a replica or DR test.
And that’s Replication with Veeam for Proxmox VE. In the next blog post I’ll cover Instant Recovery, so make sure to stay tuned!


Leave a Reply