

This is a guest post from Maximilian Maier
The Veeam Infrastructure Appliance (VIA) is a pre-built ISO image provided by Veeam that includes operating system (based on Rocky Linux) and all necessary components to host Veeam infrastructure services. It’s more or less the successor to the VHR ISO while also supporting other roles such as a Backup Proxy. Since Version 13.1, the VIA is capable of using external storage connected via Fibre Channel or iSCSI. In this post I’ll provide a brief overview of how to configure the VIA as a Hardened Repository with external storage.
Be aware that attaching and using external storage for the Hardened Repository introduces an additional attack vector. While the VIA is secure by design and backups can be made immutable, an attacker may still connect to your storage management. Therefore make sure this vector is also secured as effectively as possible.
Setup & Configuration
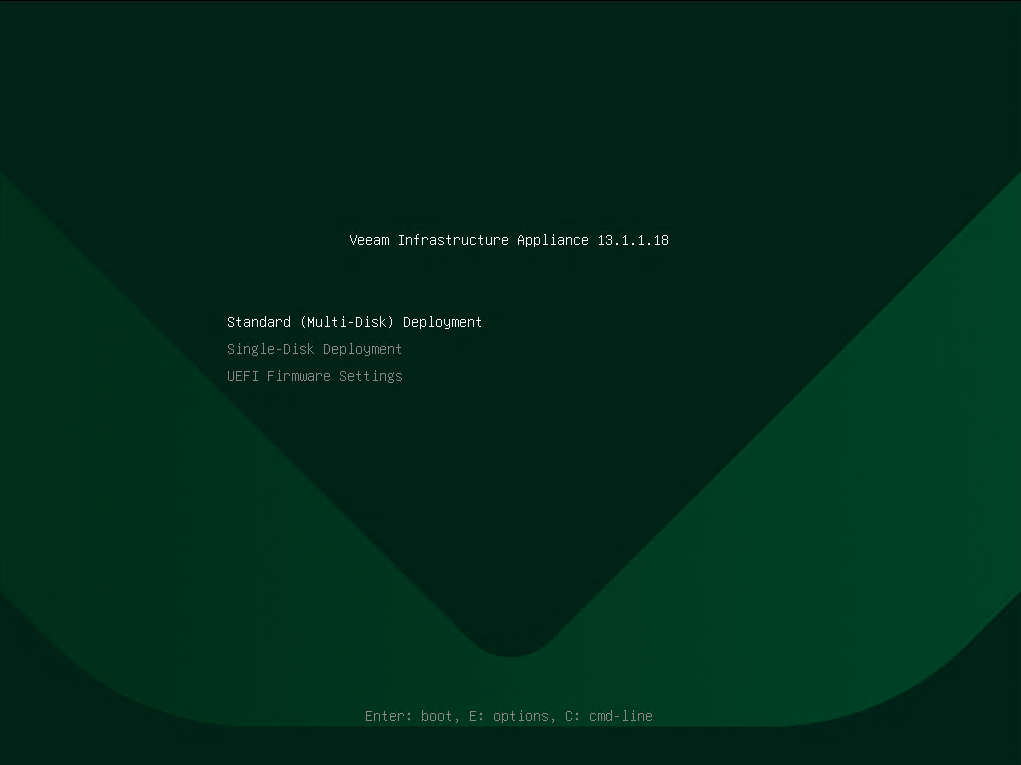
The setup of the VIA is rather simple and doesn’t require any special knowledge. Version 13.1 also introduces the Single-Disk Deployment option, which I used in this case as the backup storage will be on iSCSI disks. Please note that single-disk will still format all available internal storage!
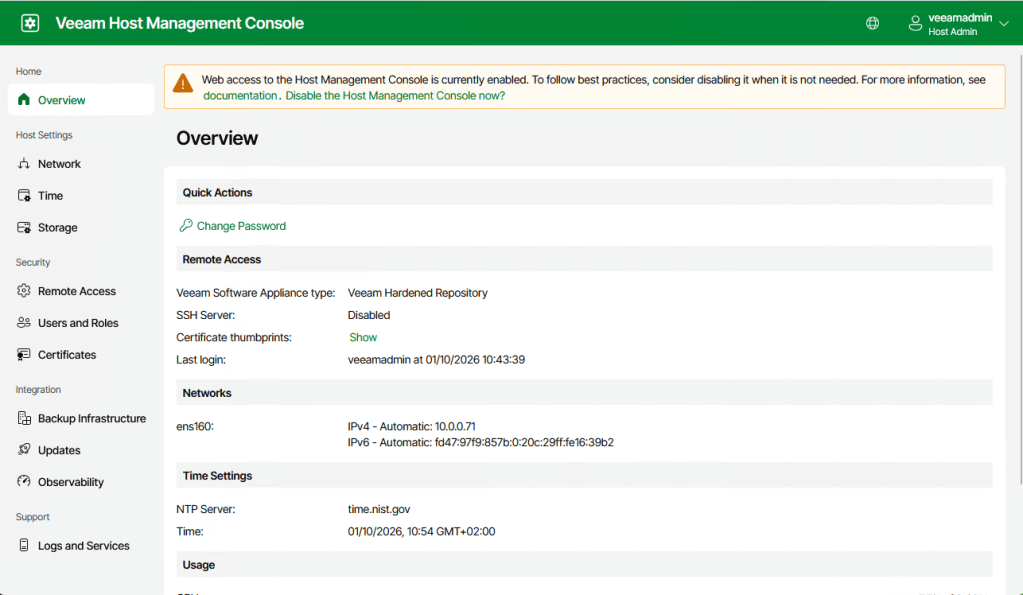
After the initial setup, the host management console can be accessed via port 10443.
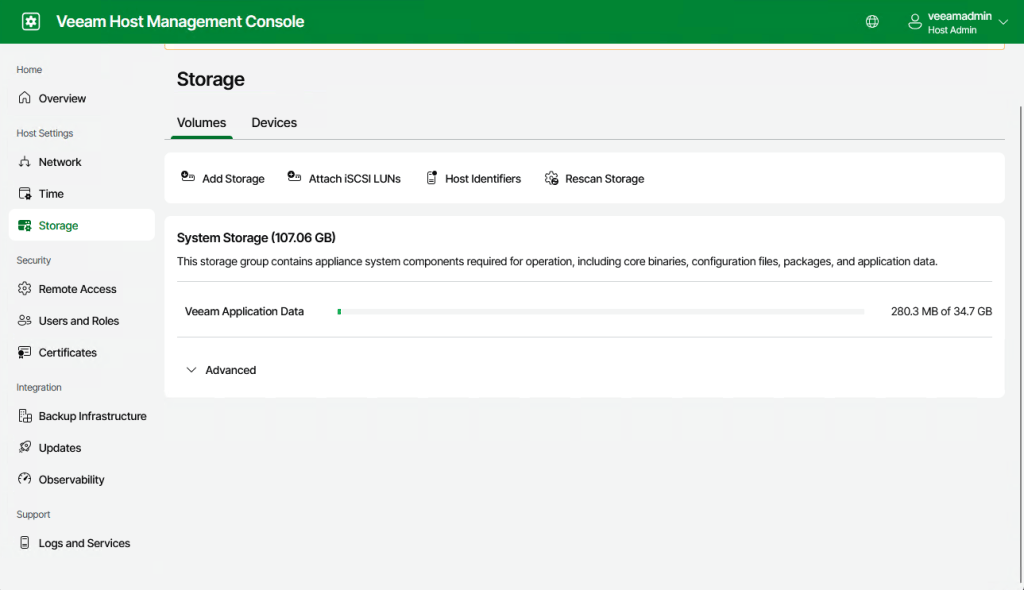
Since I used the Single-Disk deployment option, only the system storage is available after the installation. Attaching iSCSI LUNs is not possible out of the box because, for security reasons, this needs to be requested and approved in the Backup Infrastructure tab.
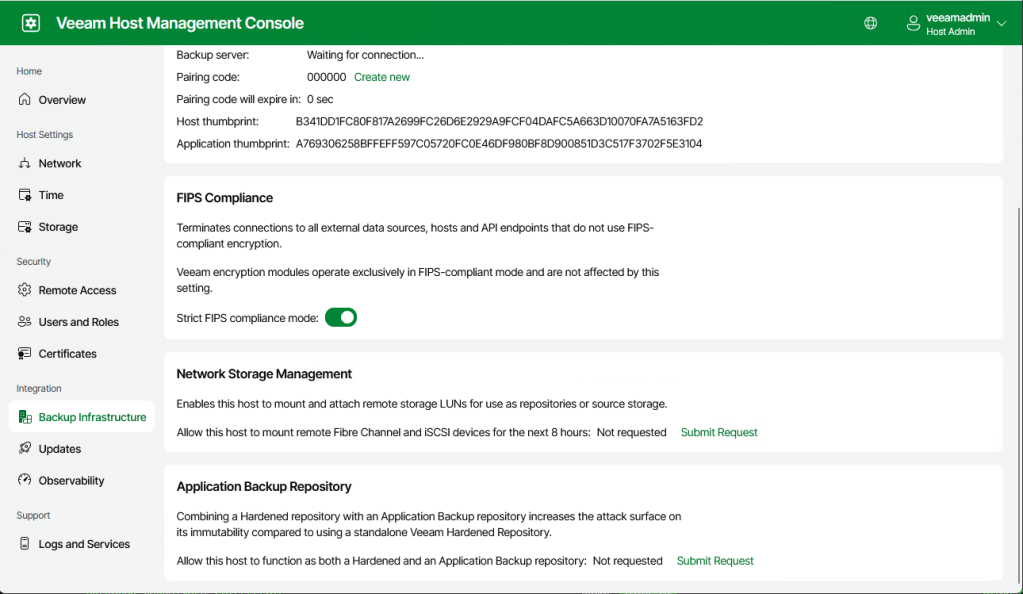
In a production environment, the Security officer would need to approve the request. In my lab I didn’t set up this user, so the request was approved automatically.
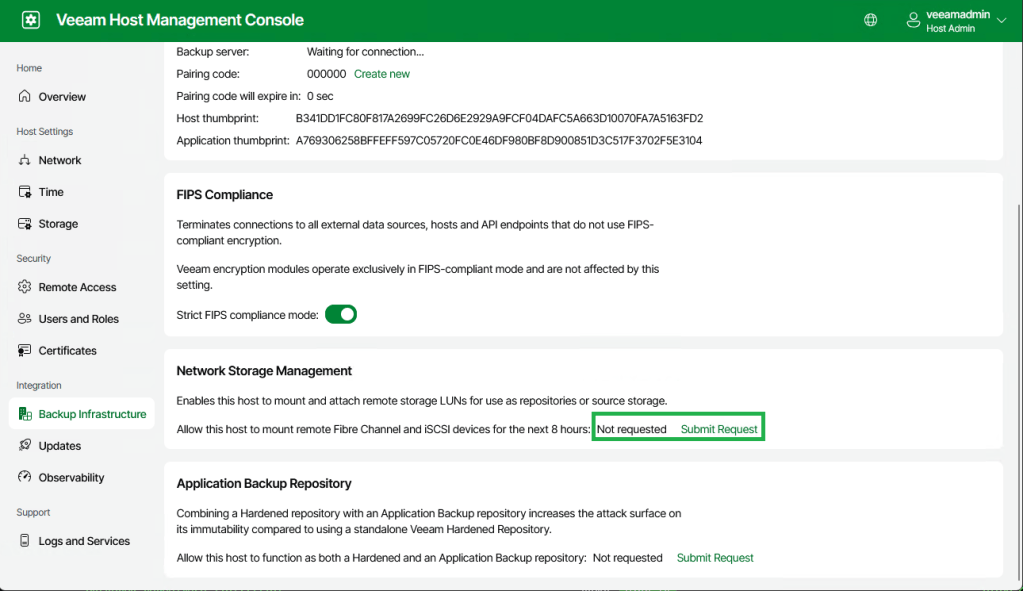
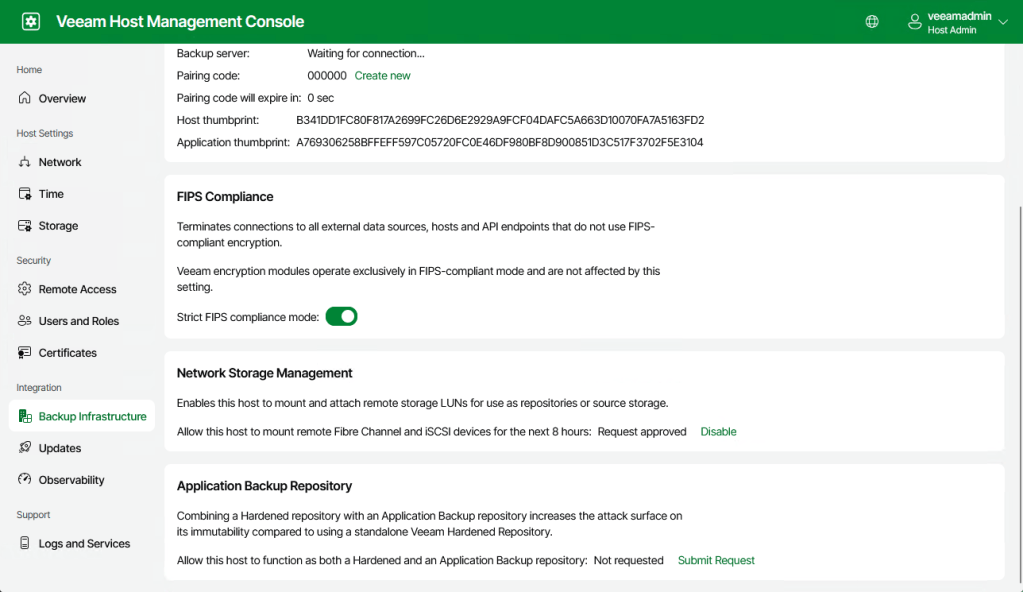
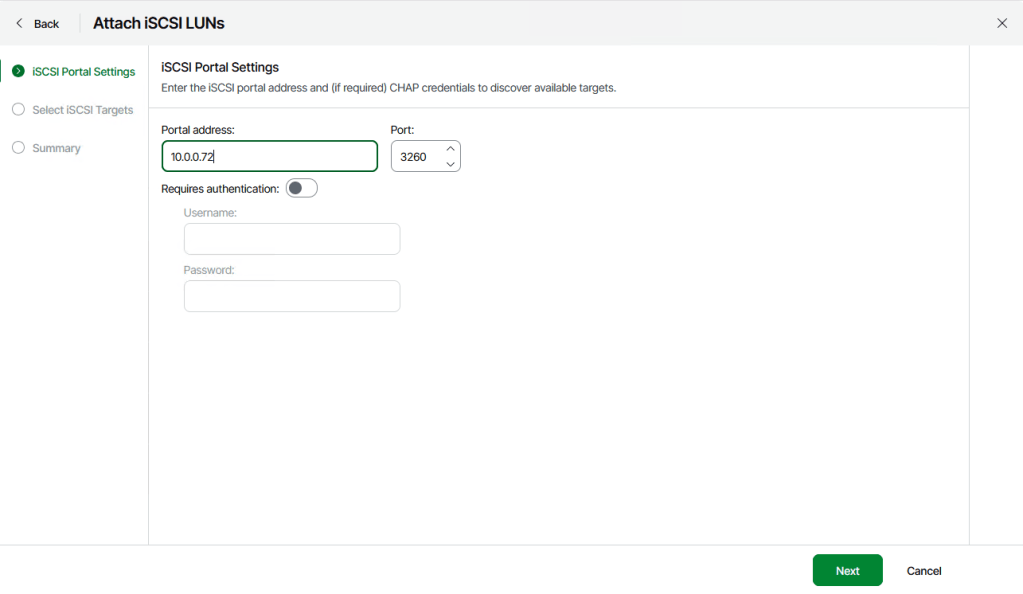
Back in the Storage tab you can now attach the iSCSI LUNs. Again because of simplicity rather than security, I went without using CHAP and just connected directly to the iSCSI portal.
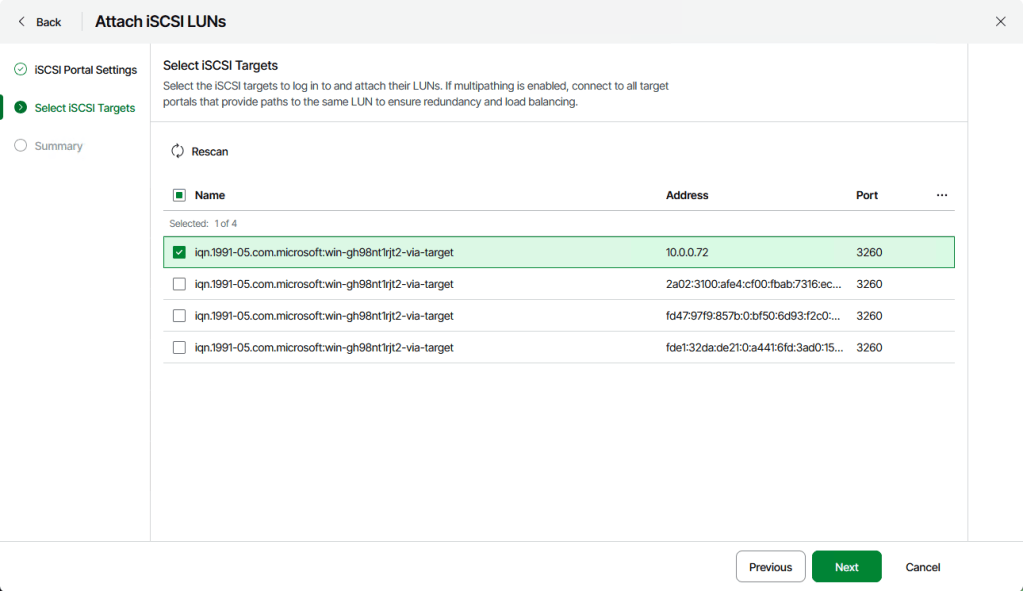
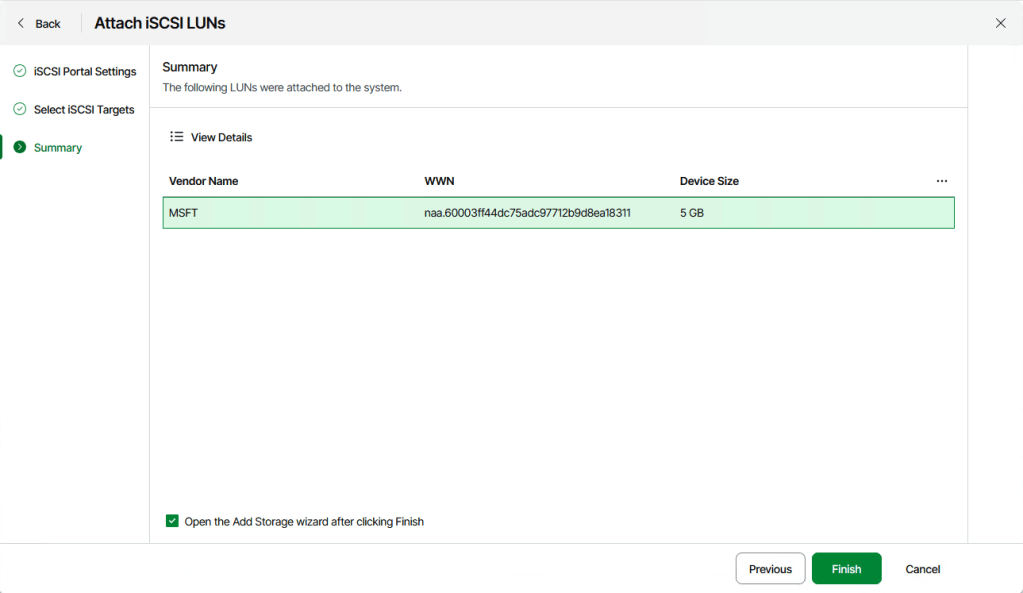
Next, using Add Storage, the attached disk receives a storage name and will be mounted to the specified mount point.
New LUNs will be formatted, but should you reinstall the VIA and connect LUNs which were used before, the device will just be mounted. Currently this only works for LUNs which were previously used by the VIA. It’s not possible and therefore not supported to add external storage which was used by self-managed Linux Repositories.
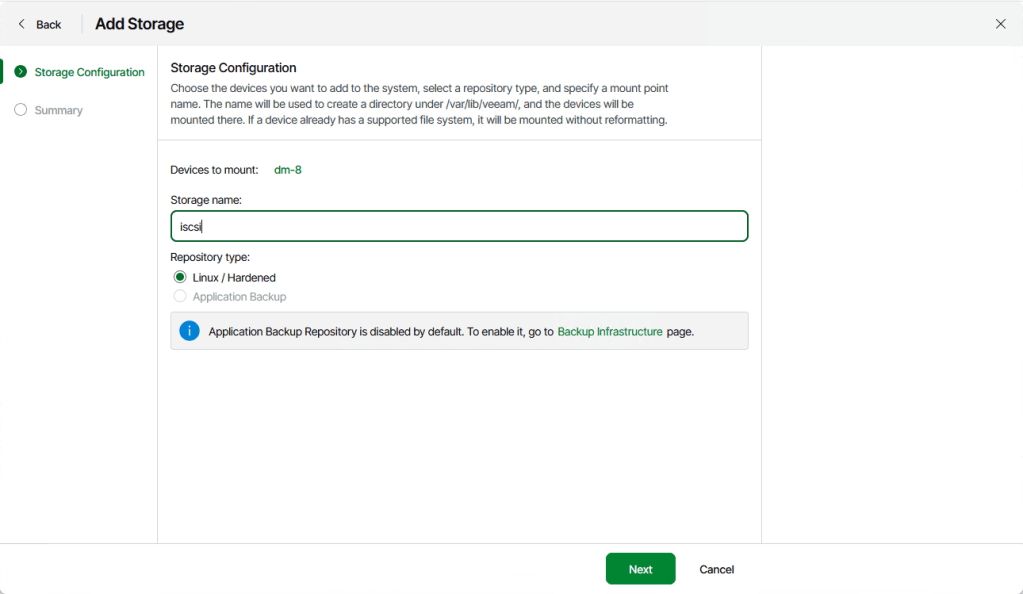
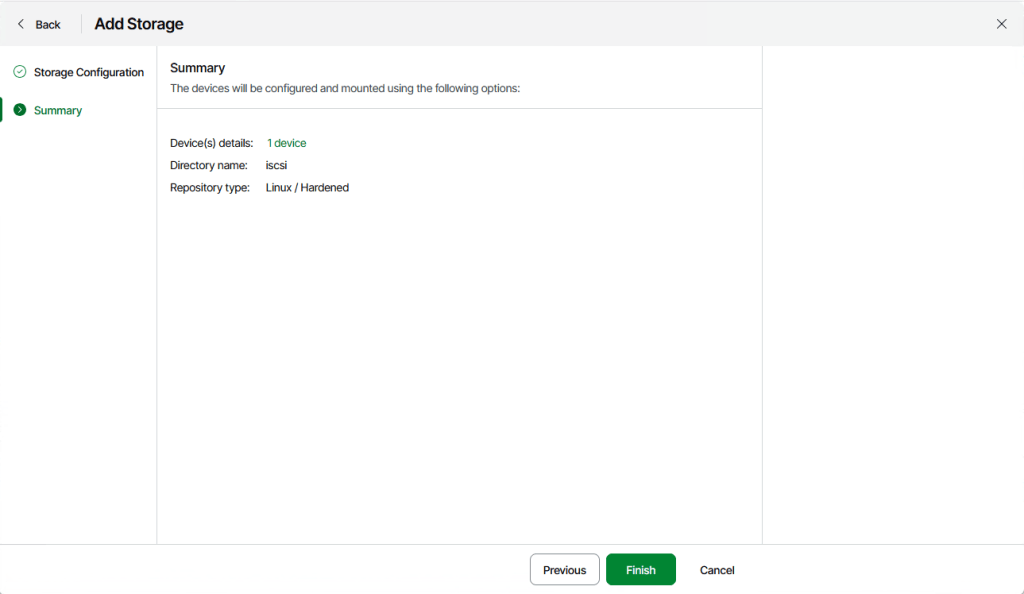
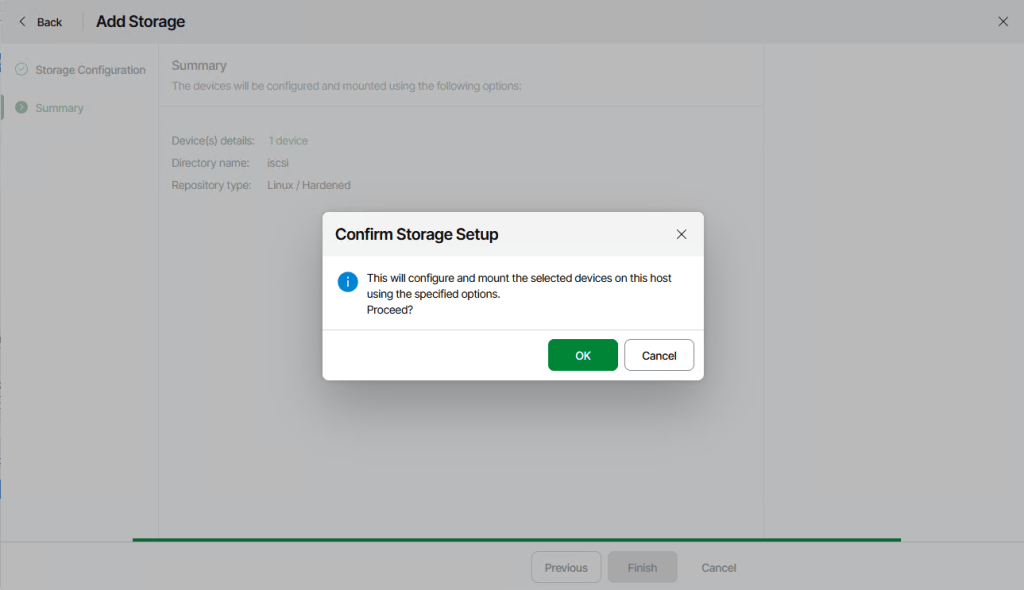
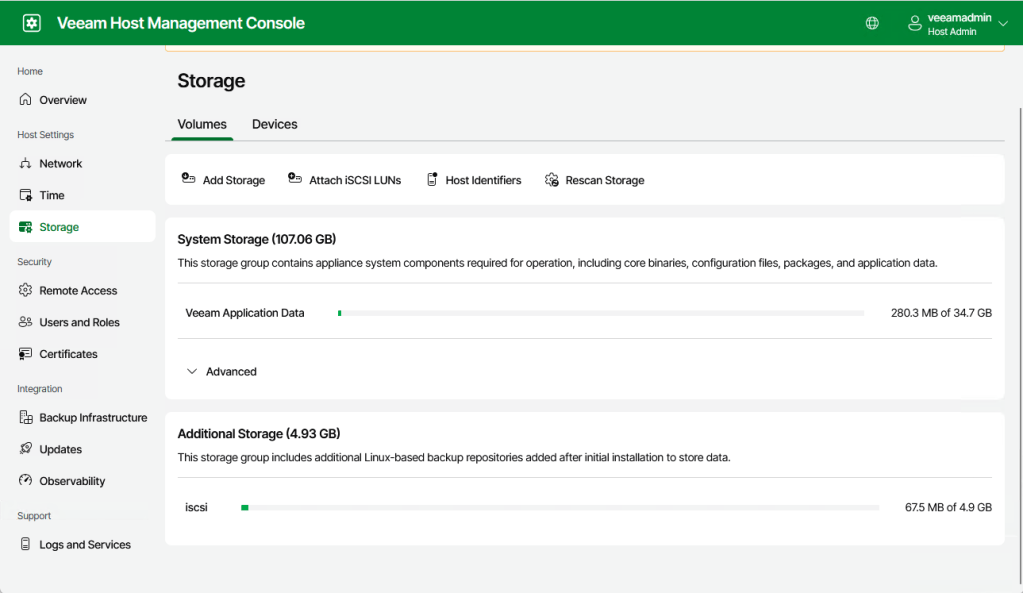
Afterwards the mounted disk is displayed under “Additional Storage” and is ready to be used as a repository.
In the first step, the VIA itself is added as a Linux server with certificate-based authentication. Afterwards it’s available to be used as a Repository. The configuration is straightforward, and the settings depend on your specific environment, therefore nothing special to cover here.
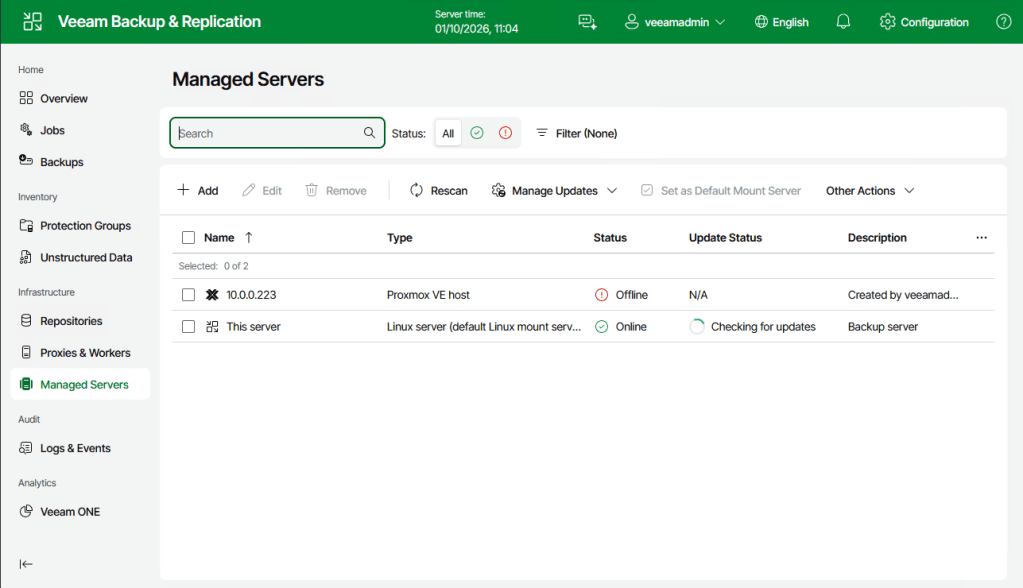
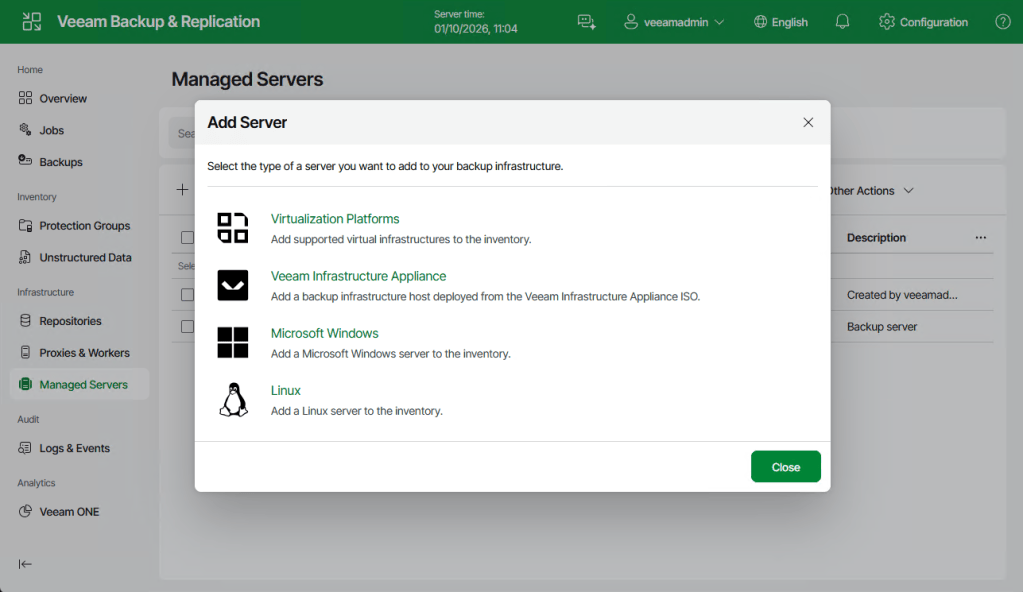
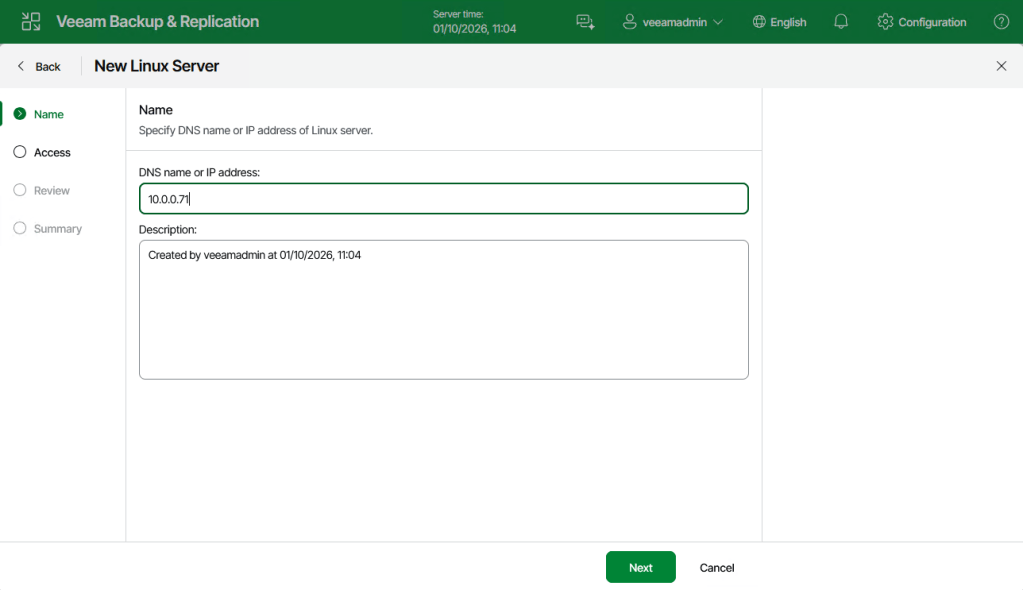
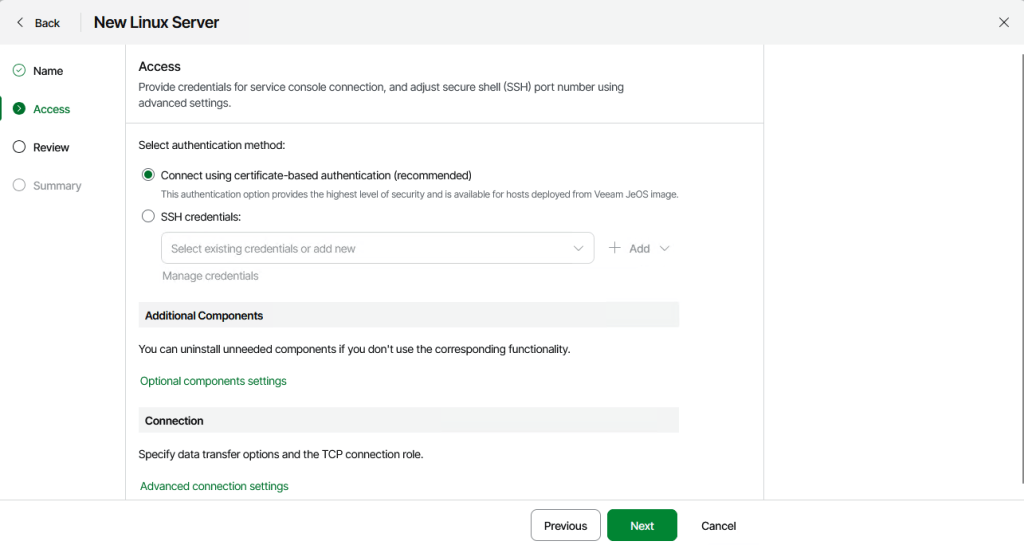
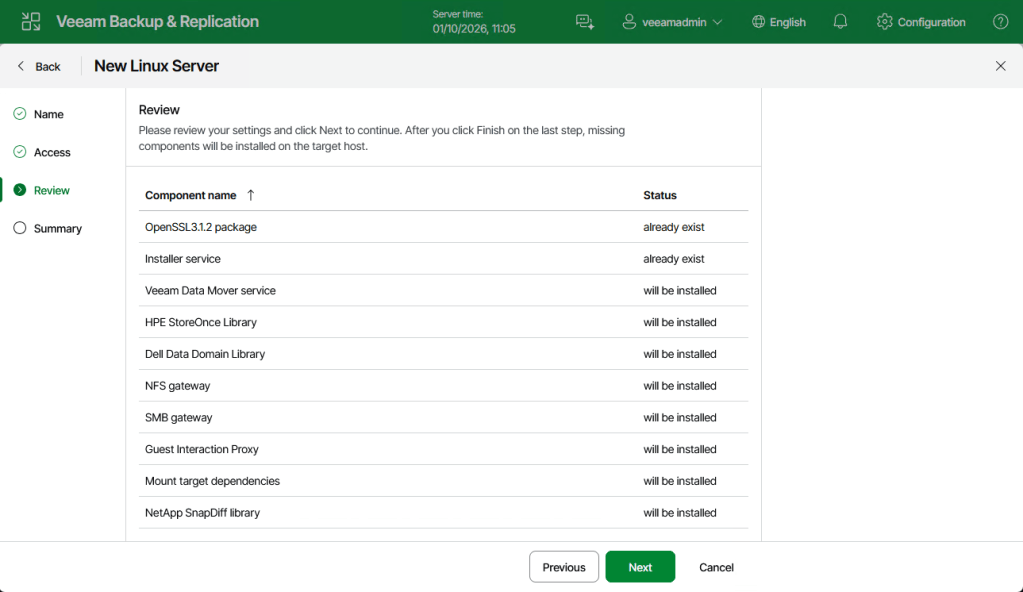
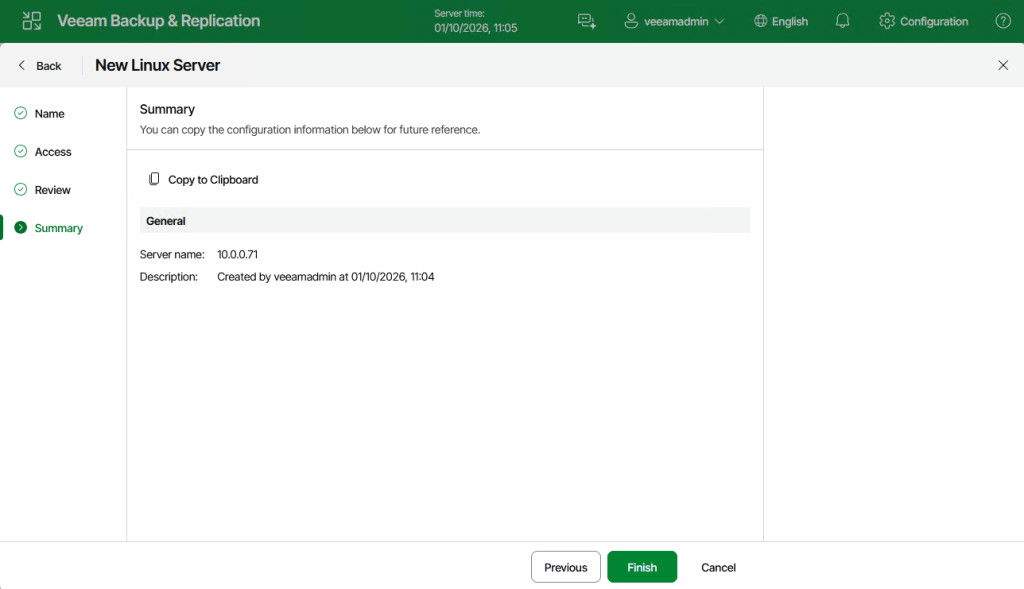
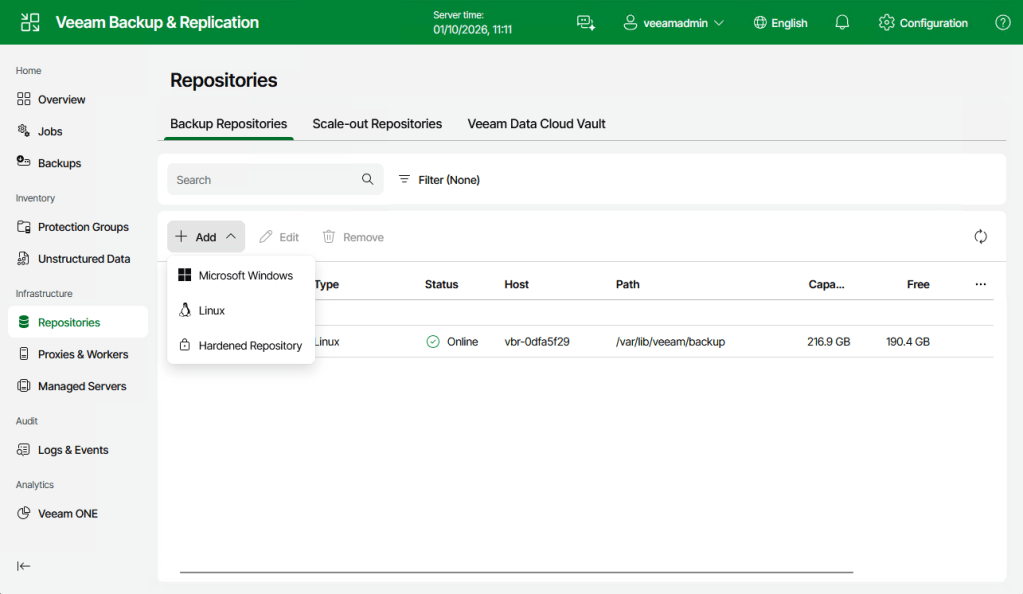
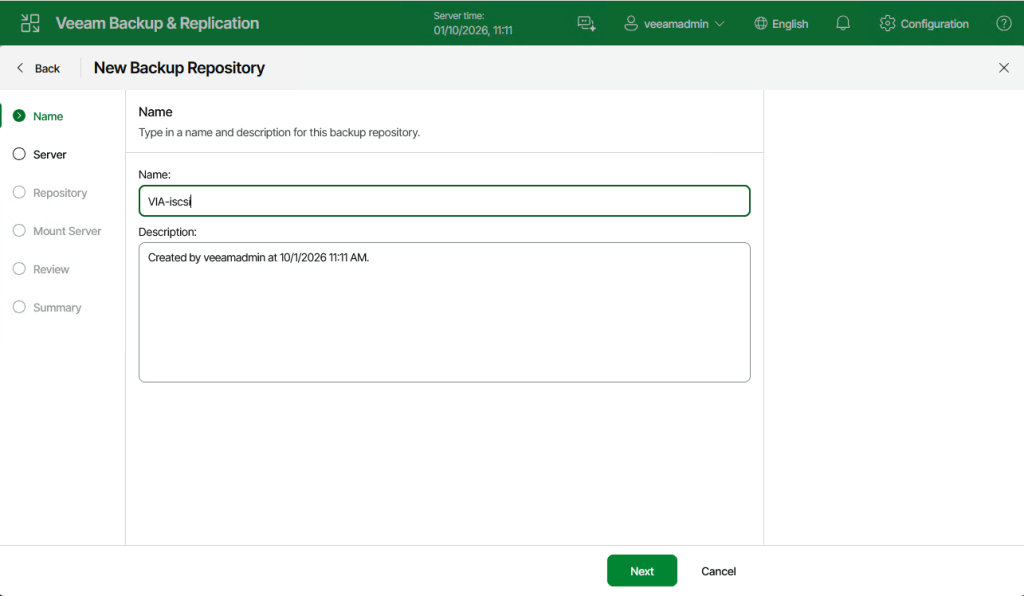
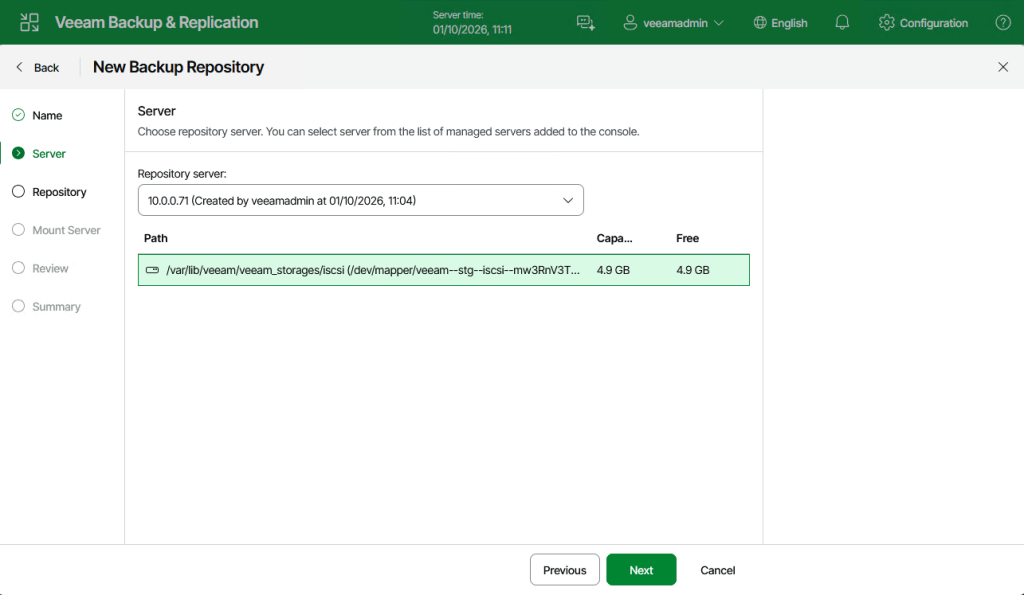
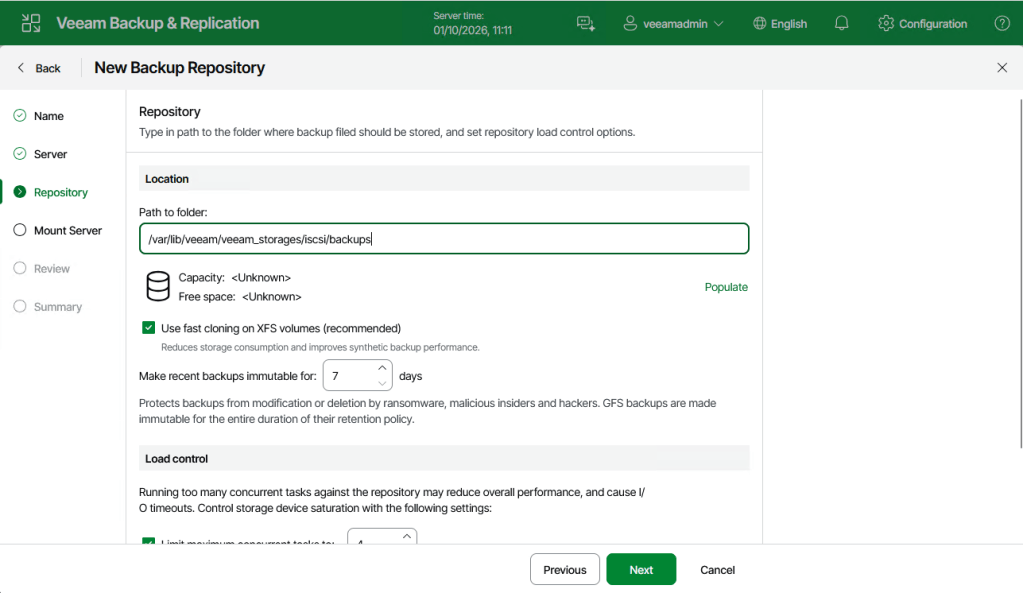
And these are all steps to deploy a Veeam Infrastructure Appliance with iSCSI storage.
Additional Details
If you’ve used the VHR ISO v2 before, it’s possible to upgrade to the Veeam Infrastructure Appliance. This process is described in this Helpcenter article.
In case of a self-managed Hardened Repository with external storage, it’s not possible to add the external storage to a VIA. Due to some technical considerations this scenario is currently not supported, but may be introduced in a future release.
Extending disk storage is also not yet available. While the increased iSCSI disk size will be detected, there’s no option to extend the storage volume. This will also come in a future release.


Leave a Reply