

This is a guest post from Maximilian Maier
In the previous part of my Veeam Backup for Proxmox series, I covered the Replication feature, which was in beta at the time. Shortly after my post was published, version 13.1 was released, which means both Replication and Instant Recovery are now generally available. Therefore I rebuilt my lab and will demonstrate the Instant Recovery feature for Proxmox with the final release.
An important note about Instant Recovery: While it’s available for production use, the support currently is experimental. This means the standard support SLAs don’t apply, and hotfixes/patches may take longer to be released.
KB2976 – Veeam Experimental Support Statement
What is Instant Recovery?
During a traditional restore, all data must be read from the backup repository and written back to the target location. This can take some time depending on the total amount of data, so it’s not easy to achieve low RTOs.
With Instant Recovery, on the other hand, the content of the backup file is mounted from the backup repository. In case of virtual machines, the target hypervisor will see this as an NFS datastore, register the virtual machine and its disks, and start it up. Within a short amount of time, the virtual machine is back online and services are restored. This makes RTOs of just a few minutes possible.
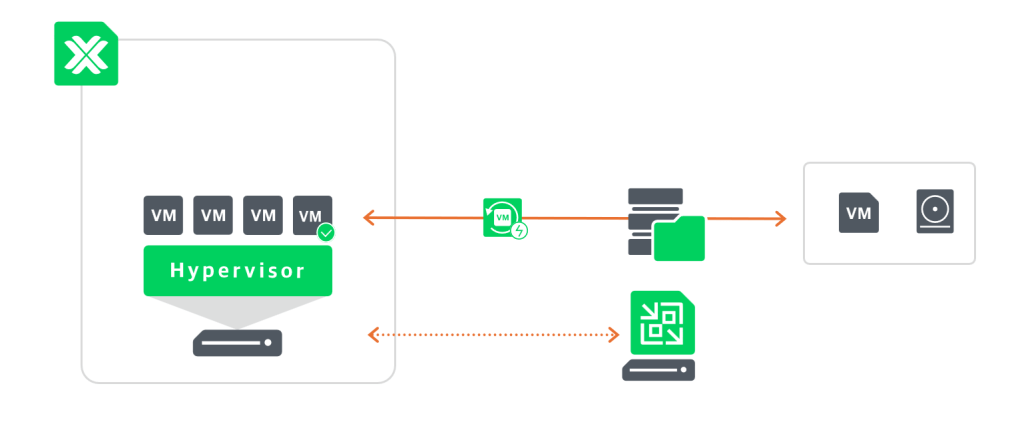
To finalize the process, the virtual machine needs to be migrated to production storage which can happen in the background. This is an important step which should not be forgotten. Otherwise, the virtual machine and all of its changes may be lost if one of the involved components gets restarted or the Instant Recovery task is stopped.
Instant Recovery to Proxmox VE
Again I’m using the virtual domain controller in my lab as the test candidate. Instant Recovery is either started by right-clicking the backup file or from within the restore wizard.
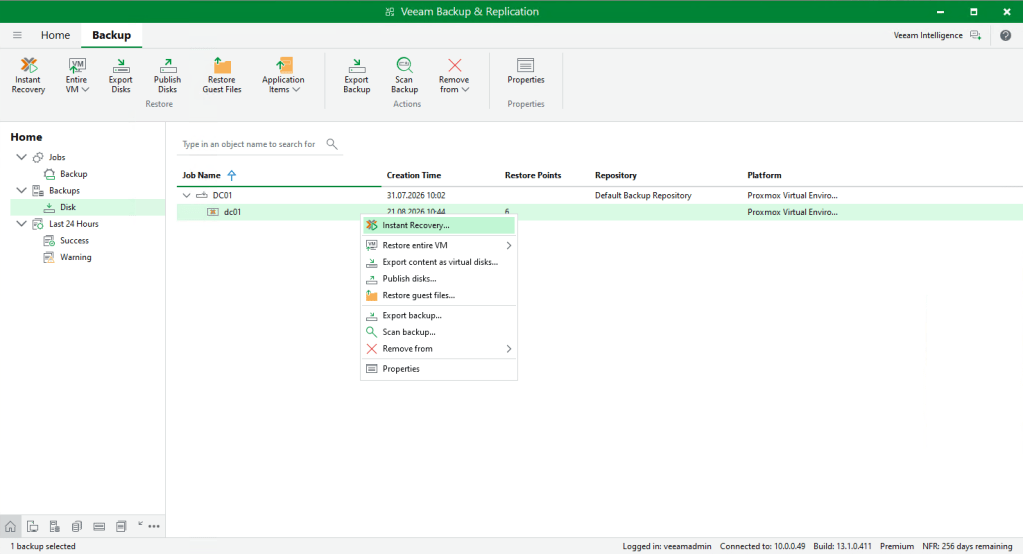
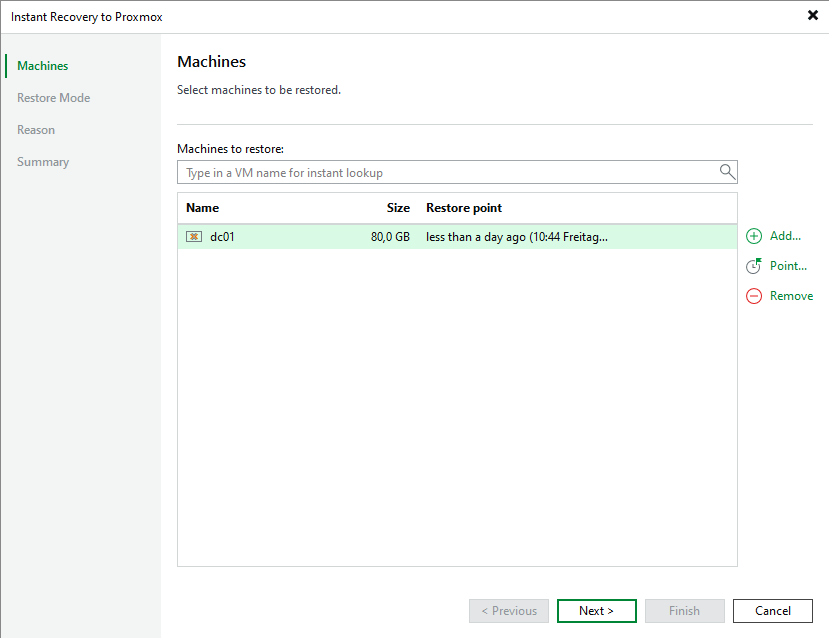
Select the restore point to be recovered. In my case the latest one.
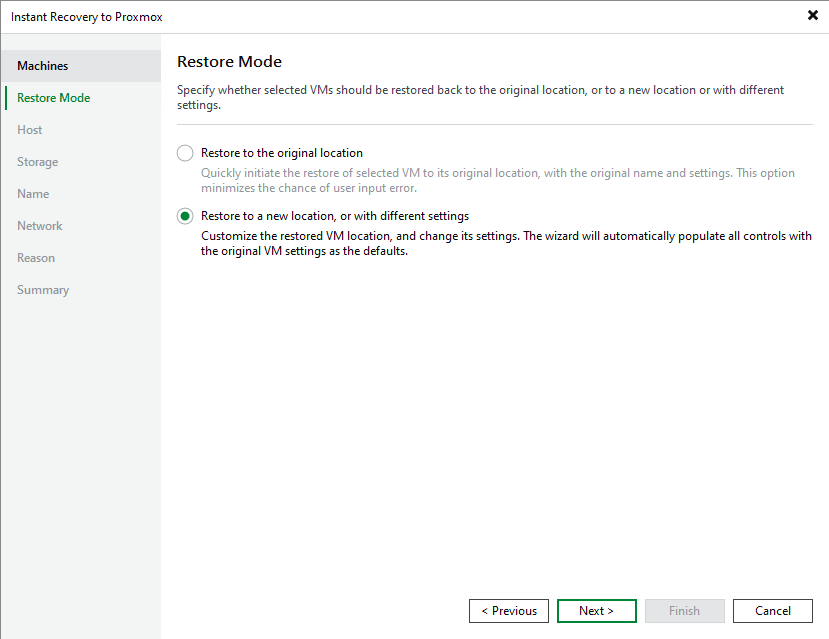
Select the restore mode, which is “Restore to a new location” in my case as I’m restoring to the same host and do not want to overwrite the existing VM.
Define the target host, where the VM will be mounted and restored to.

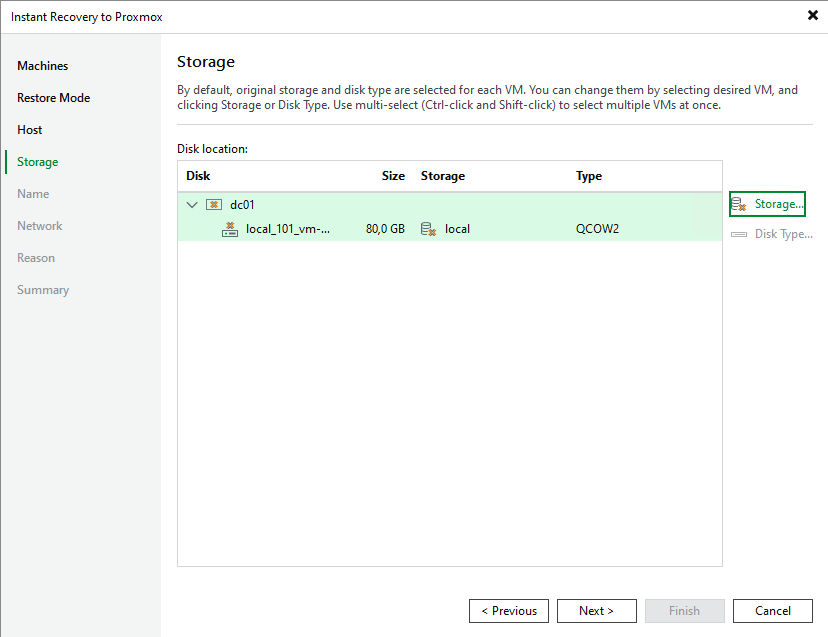
Select the datastore where the virtual machine will be registered and changes will be written to.
Change the virtual machine name in case the original VM will still be available on the target host.

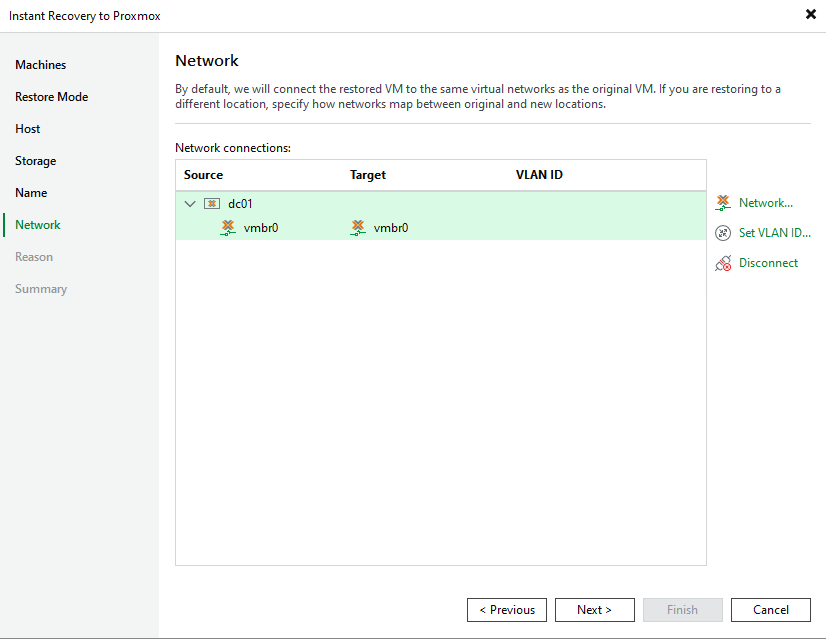
Afterwards select the target network for the restored VM. Additionally you can decide whether its NIC is going to be disconnected during the restore. This can be useful for testing purposes where the original VM is still online.
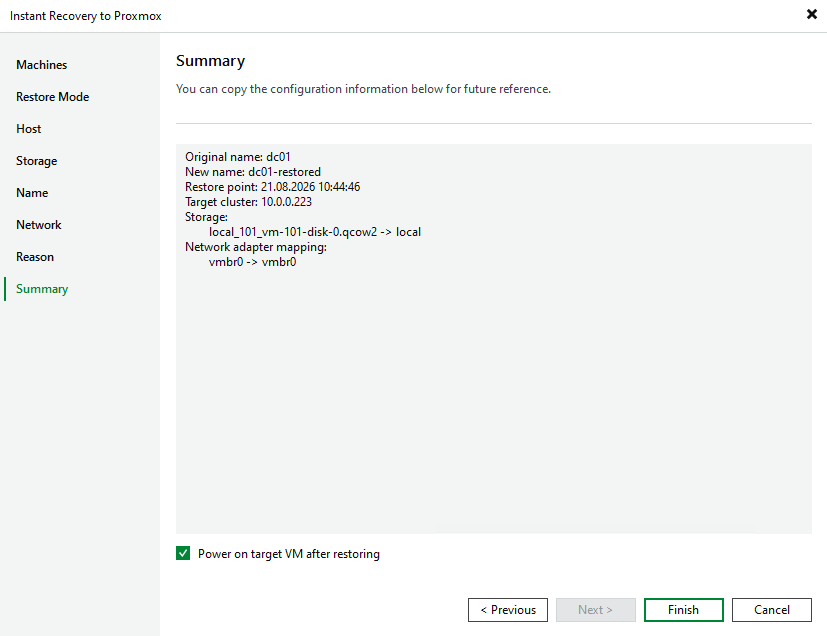
In the final step, you have the option to power on the VM after the restore/mounting process is completed.
Just as in my replication post, I stopped the domain controller to simulate a disaster and kept ping running. In less than 1 minute, the Instant Recovery process completed and the virtual machine powered on.
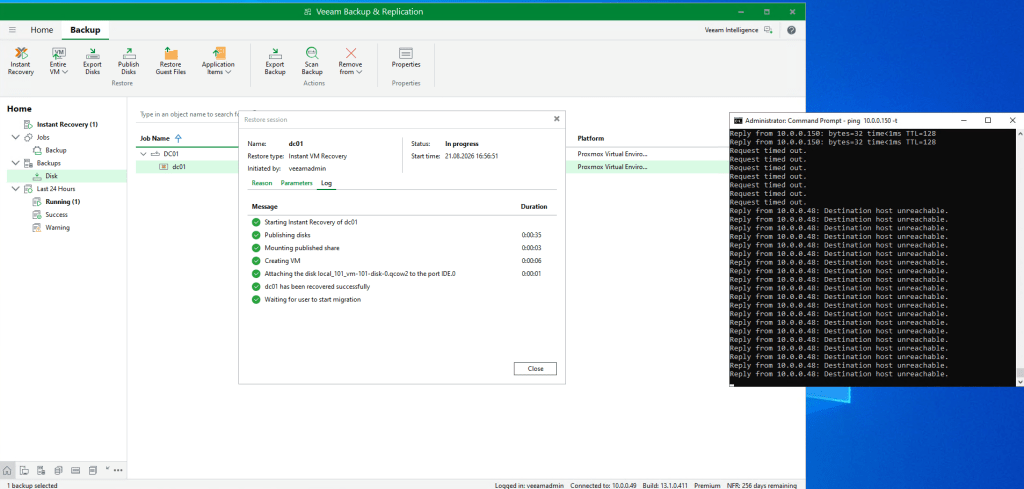
On the Proxmox side, I could see the VM booting and it took about 2 more minutes until the VM was reachable via ping again.
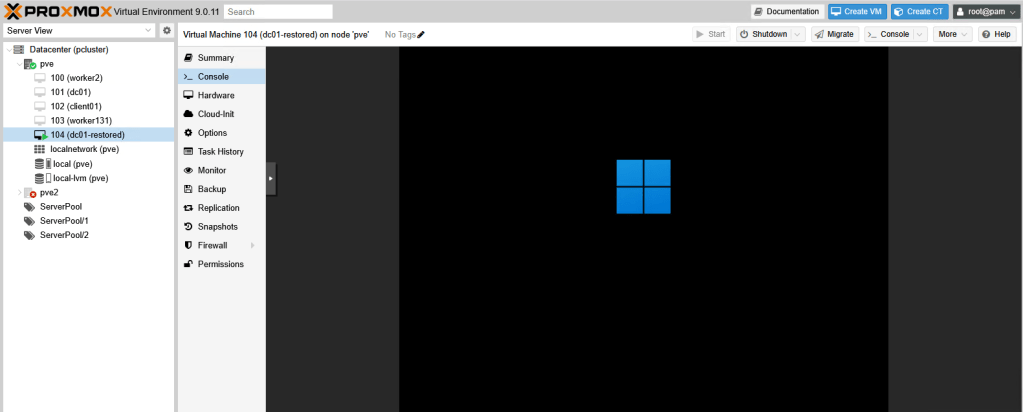
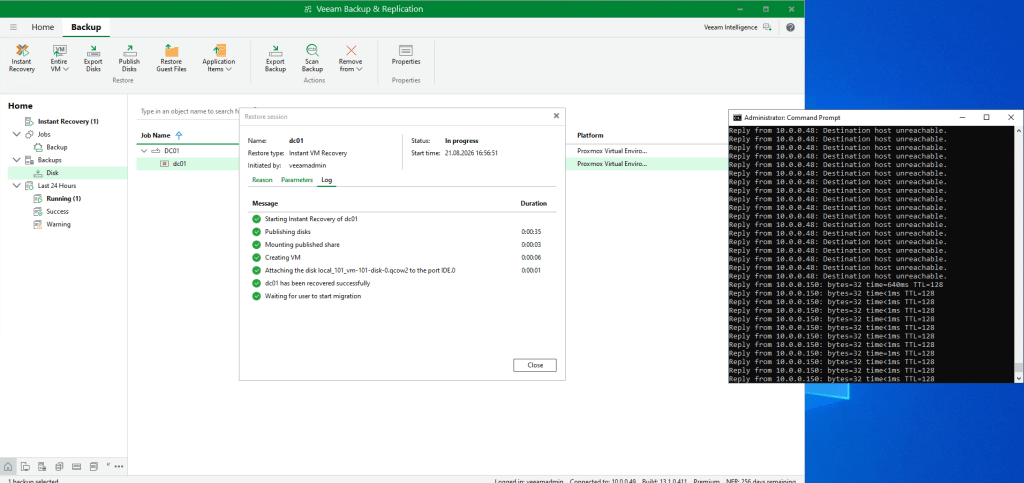
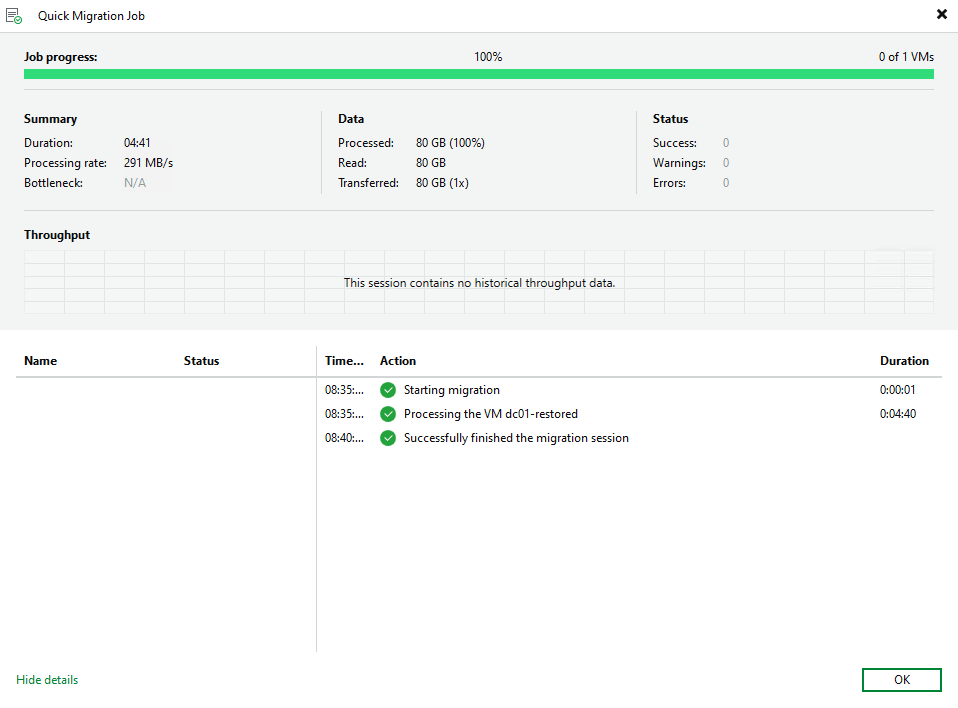
After verifying that the restored VM is ok, the Instant Recovery process needs to be finalized with “Migrate to Production”. This starts a Quick Migration task, which moves the disk content from the Backup Repository to the selected target datastore. This happens in the background while the VM stays online and available.
Important:
Do not forget this step after starting an Instant Recovery, as you could lose the virtual machine and all its changes.
A reboot of the Proxmox VE host will break the connection to the Veeam NFS datastore. Therefore Instant Recovery will fail and all changes will be discarded.
If one of the involved Veeam components gets rebooted, Veeam will restart the mount process so in theory there shouldn’t be an issue. During my tests,the VM stayed online while I restarted the VBR server. Veeam successfully restarted the task but the VM locked up later. It might be related to my lab or something support could handle, but in general I would recommend to avoid going this way.
Limitations
In the initial release, only qcow2 disks are supported and Instant Recovery to Ceph Storage isn’t possible. This might change in one of the next releases.
Summary
It’s great to see how the Proxmox VE integration continues to evolve with every release. Looking back where it started in v1, the feature set has grown significantly. Instant Recovery is probably one of those most requested features, making the integration even better.


Leave a Reply